…using nrf24l01 radios and the tcs3200 color sensor.
A word of warning: a chameleon does NOT change its color depending on the surface it is situated on, but depending on mood and temperature! This lamp does change its color depending on the color you show it. So we’re trying not to call it chameleon lamp.
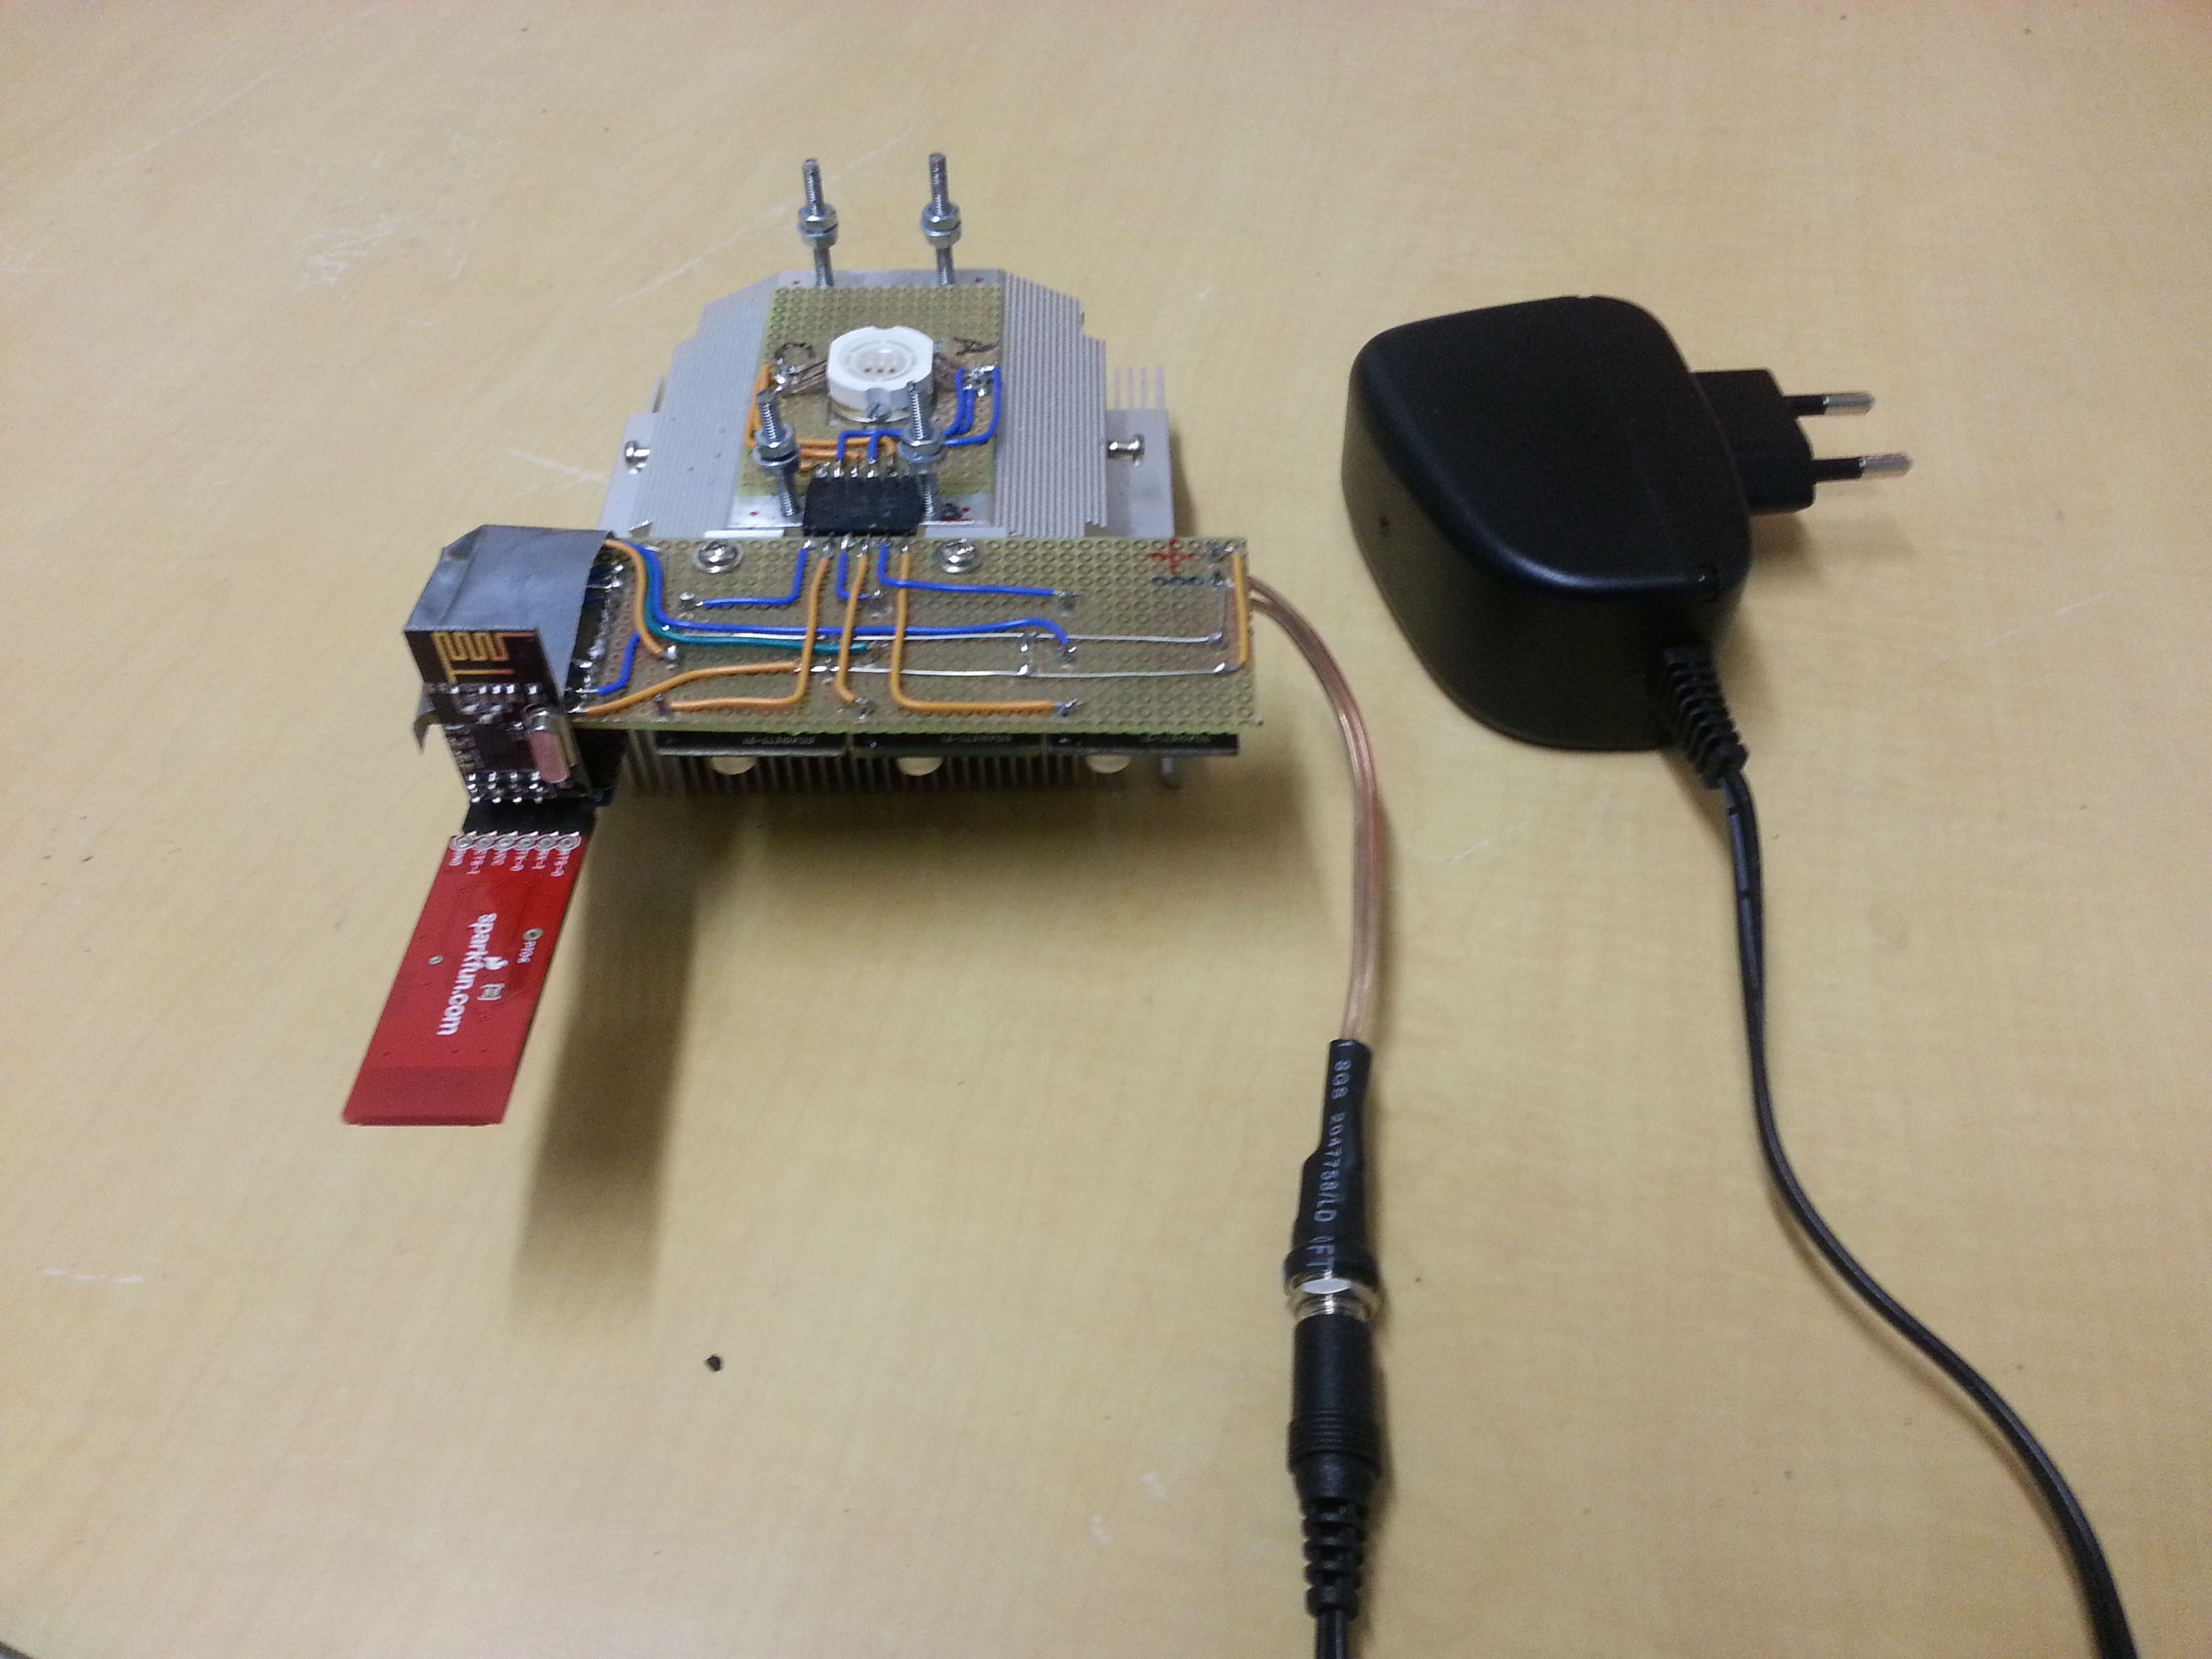
This upgrade of a former project uses nrf24l01 spi-controlled cheap 2.4GHz radio modules for communication of the 10W RGB LED lamp built around an Arduino Pro Mini and three MBI6651 PWM-dimmable LED drivers.
The remote control uses a TCS3200 color sensor that uses rate coding to tell the microprocessor which color it senses. It is then packaged as a RGB string and sent to the lamp. For example pure red @ full brightness would be 255,0,0; The processor in the remote control is also an Atmega328p programmed in the Arduino IDE.
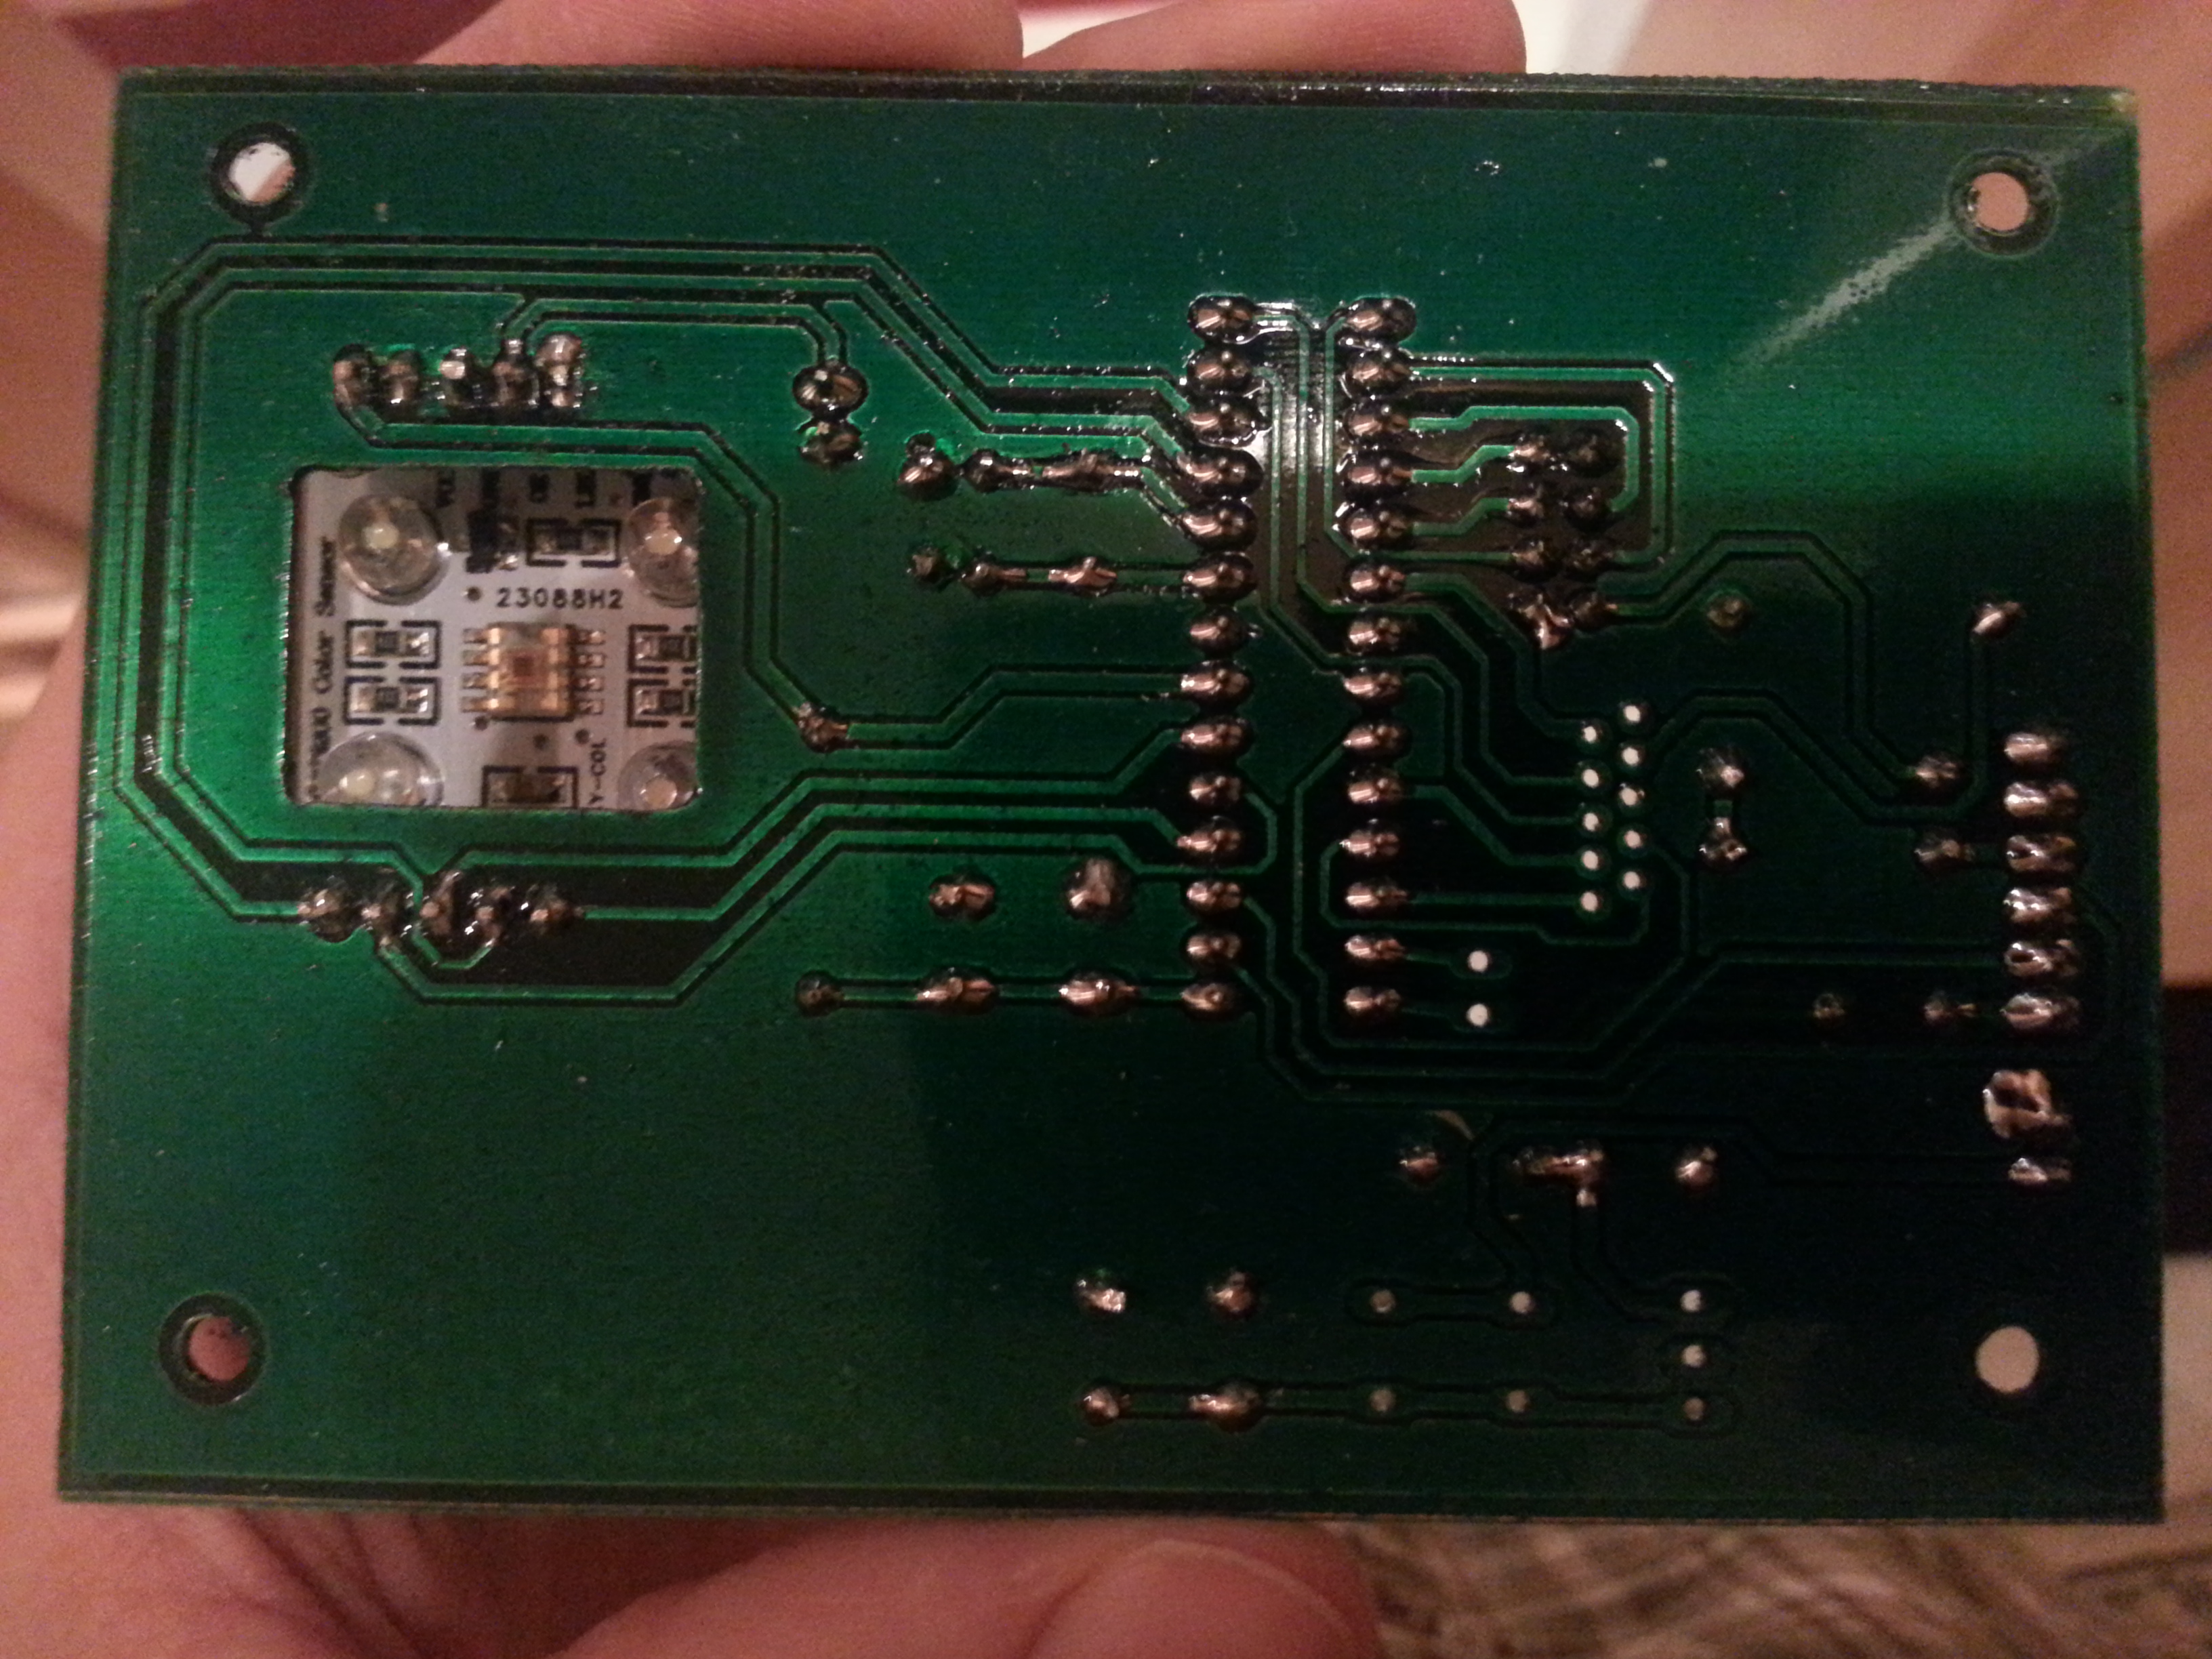
This project was another opportunity to create a DIY PCB. This time I took it to the next level and made it double-sided. A laser printer and laser transparencies were used, which is also an upgrade to inkjet stencils. I applied some toner density spray to the transparencies prior to exposing and hoped for better exposure results. It seemed to improve outcome. Of course the good old solder coat was sprayed onto both sides after etching.
Note: the extra holes are for the ribbon cable connector for a Pollin 2×8 character LCD. I haven’t soldered it.
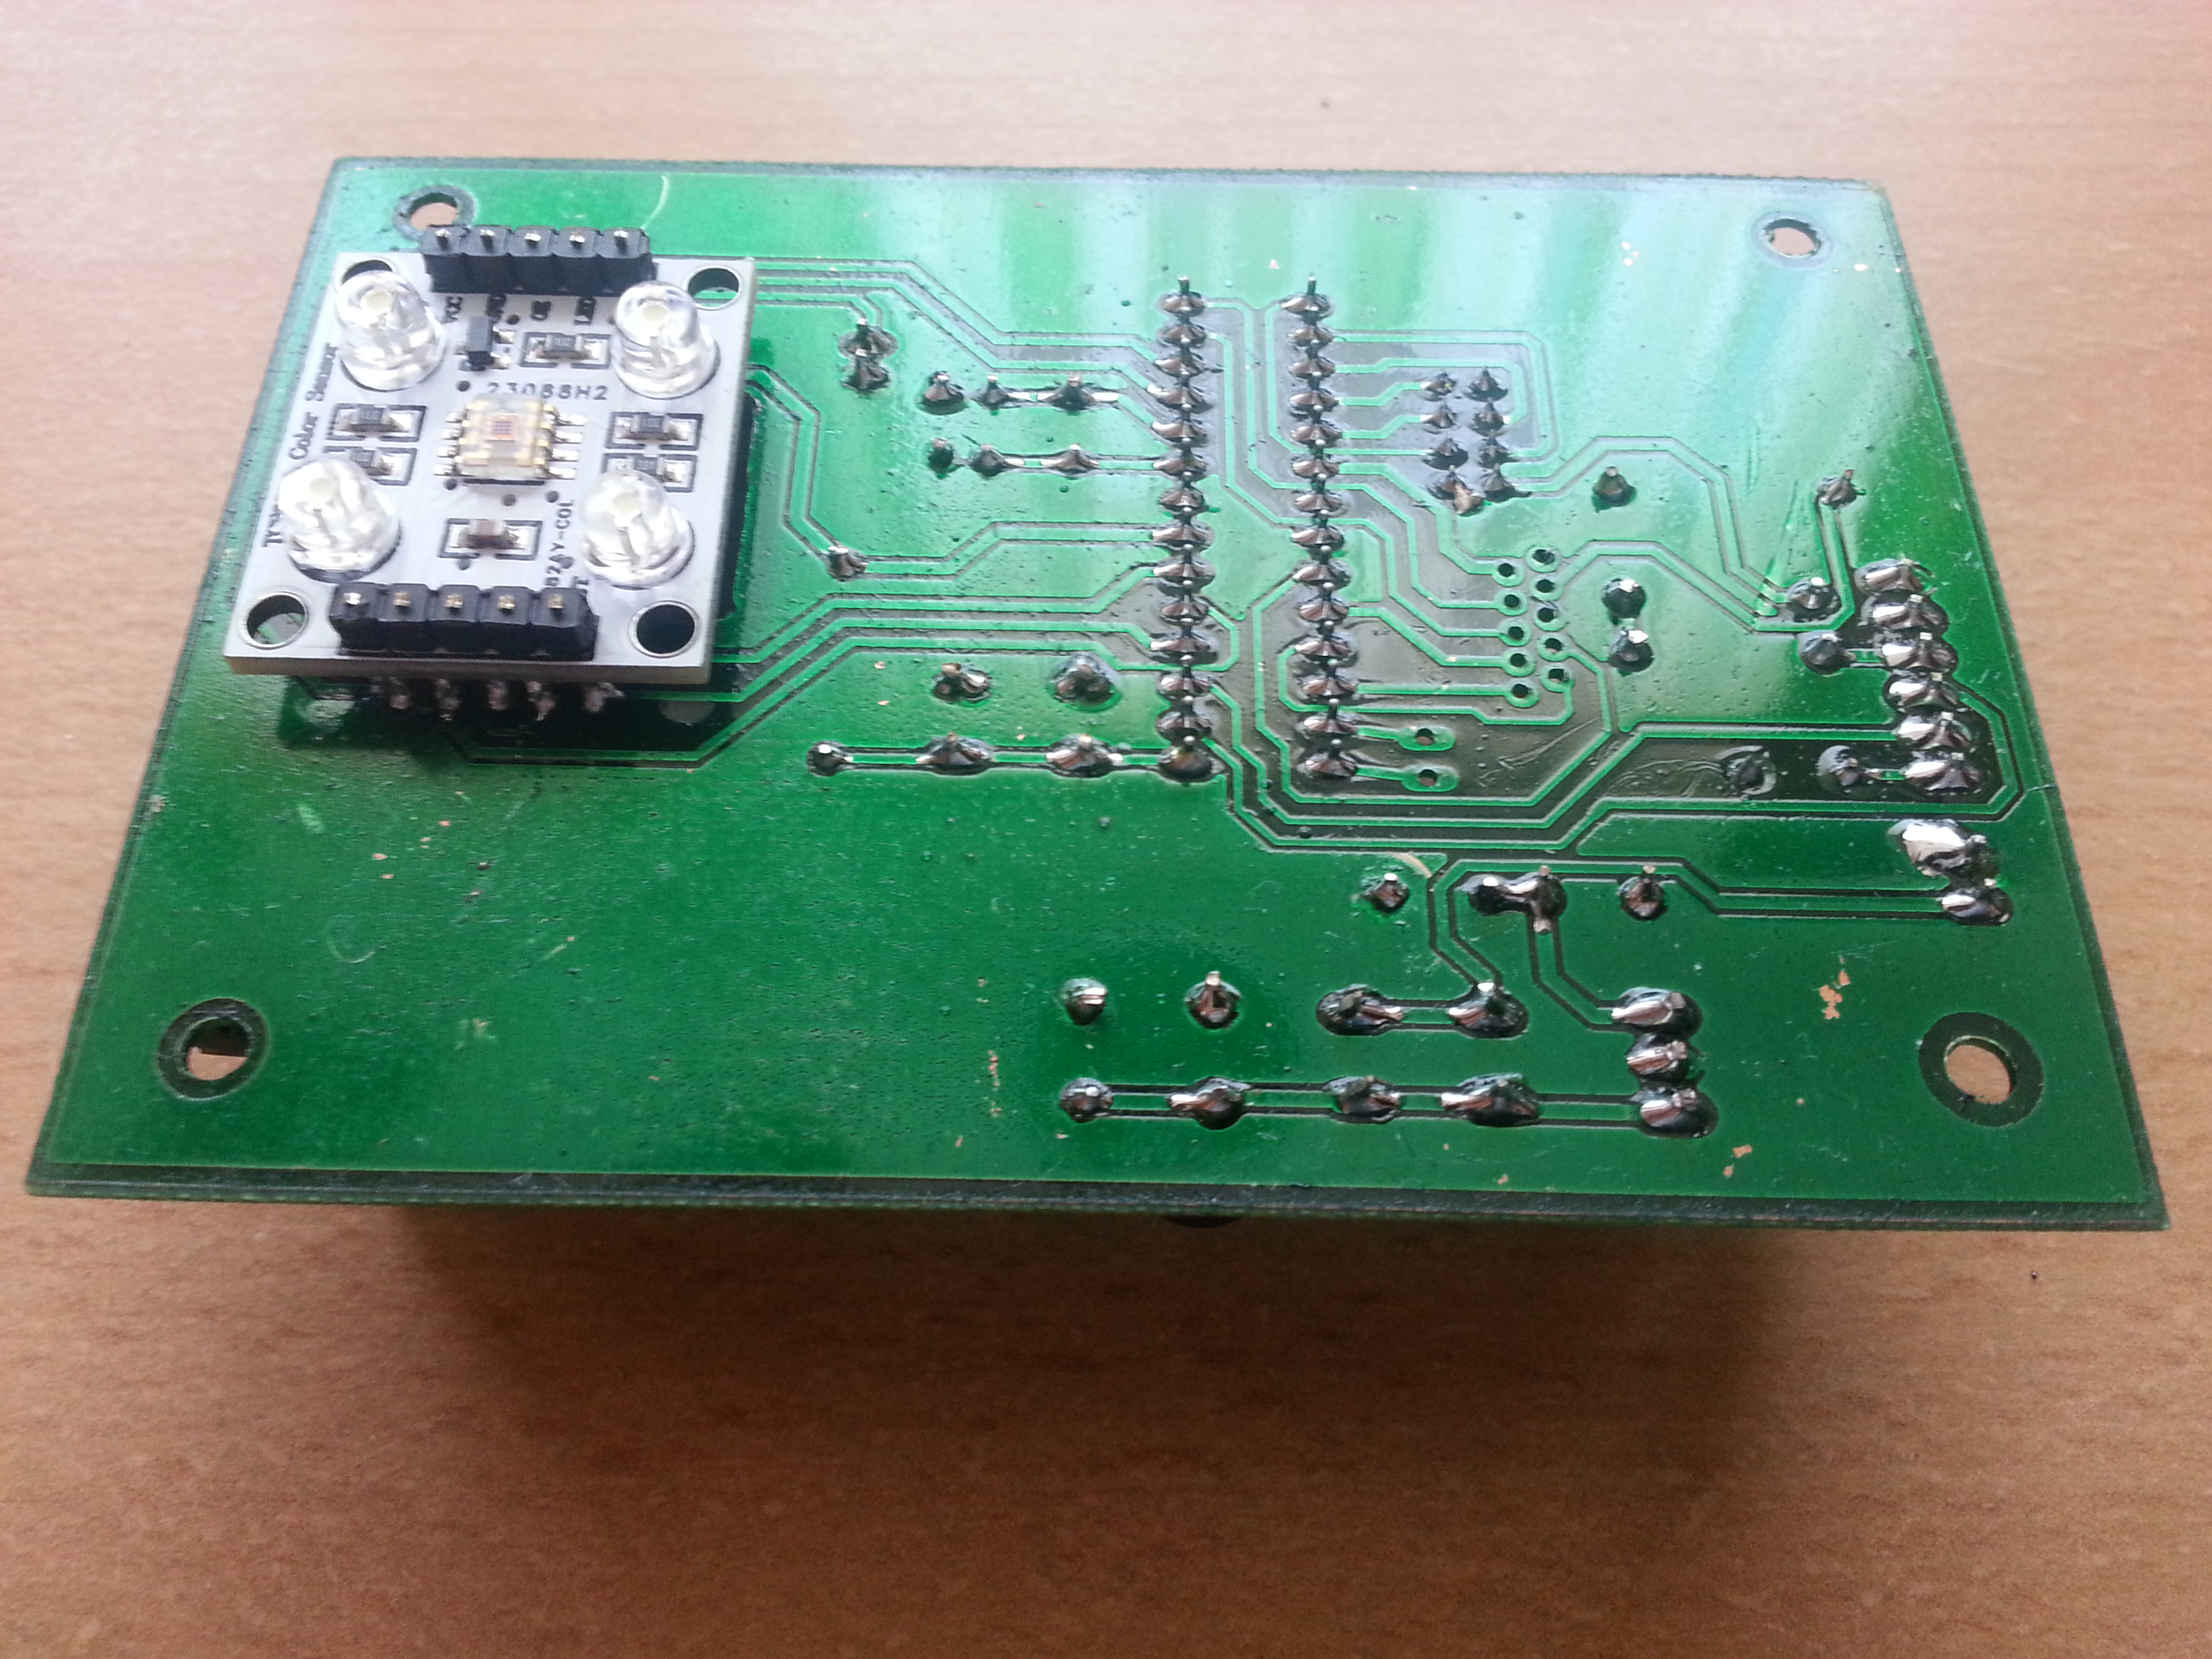
The color sensor board is attached face-down and therefore needs a window in the PCB. Made that using a PROXXON mill.

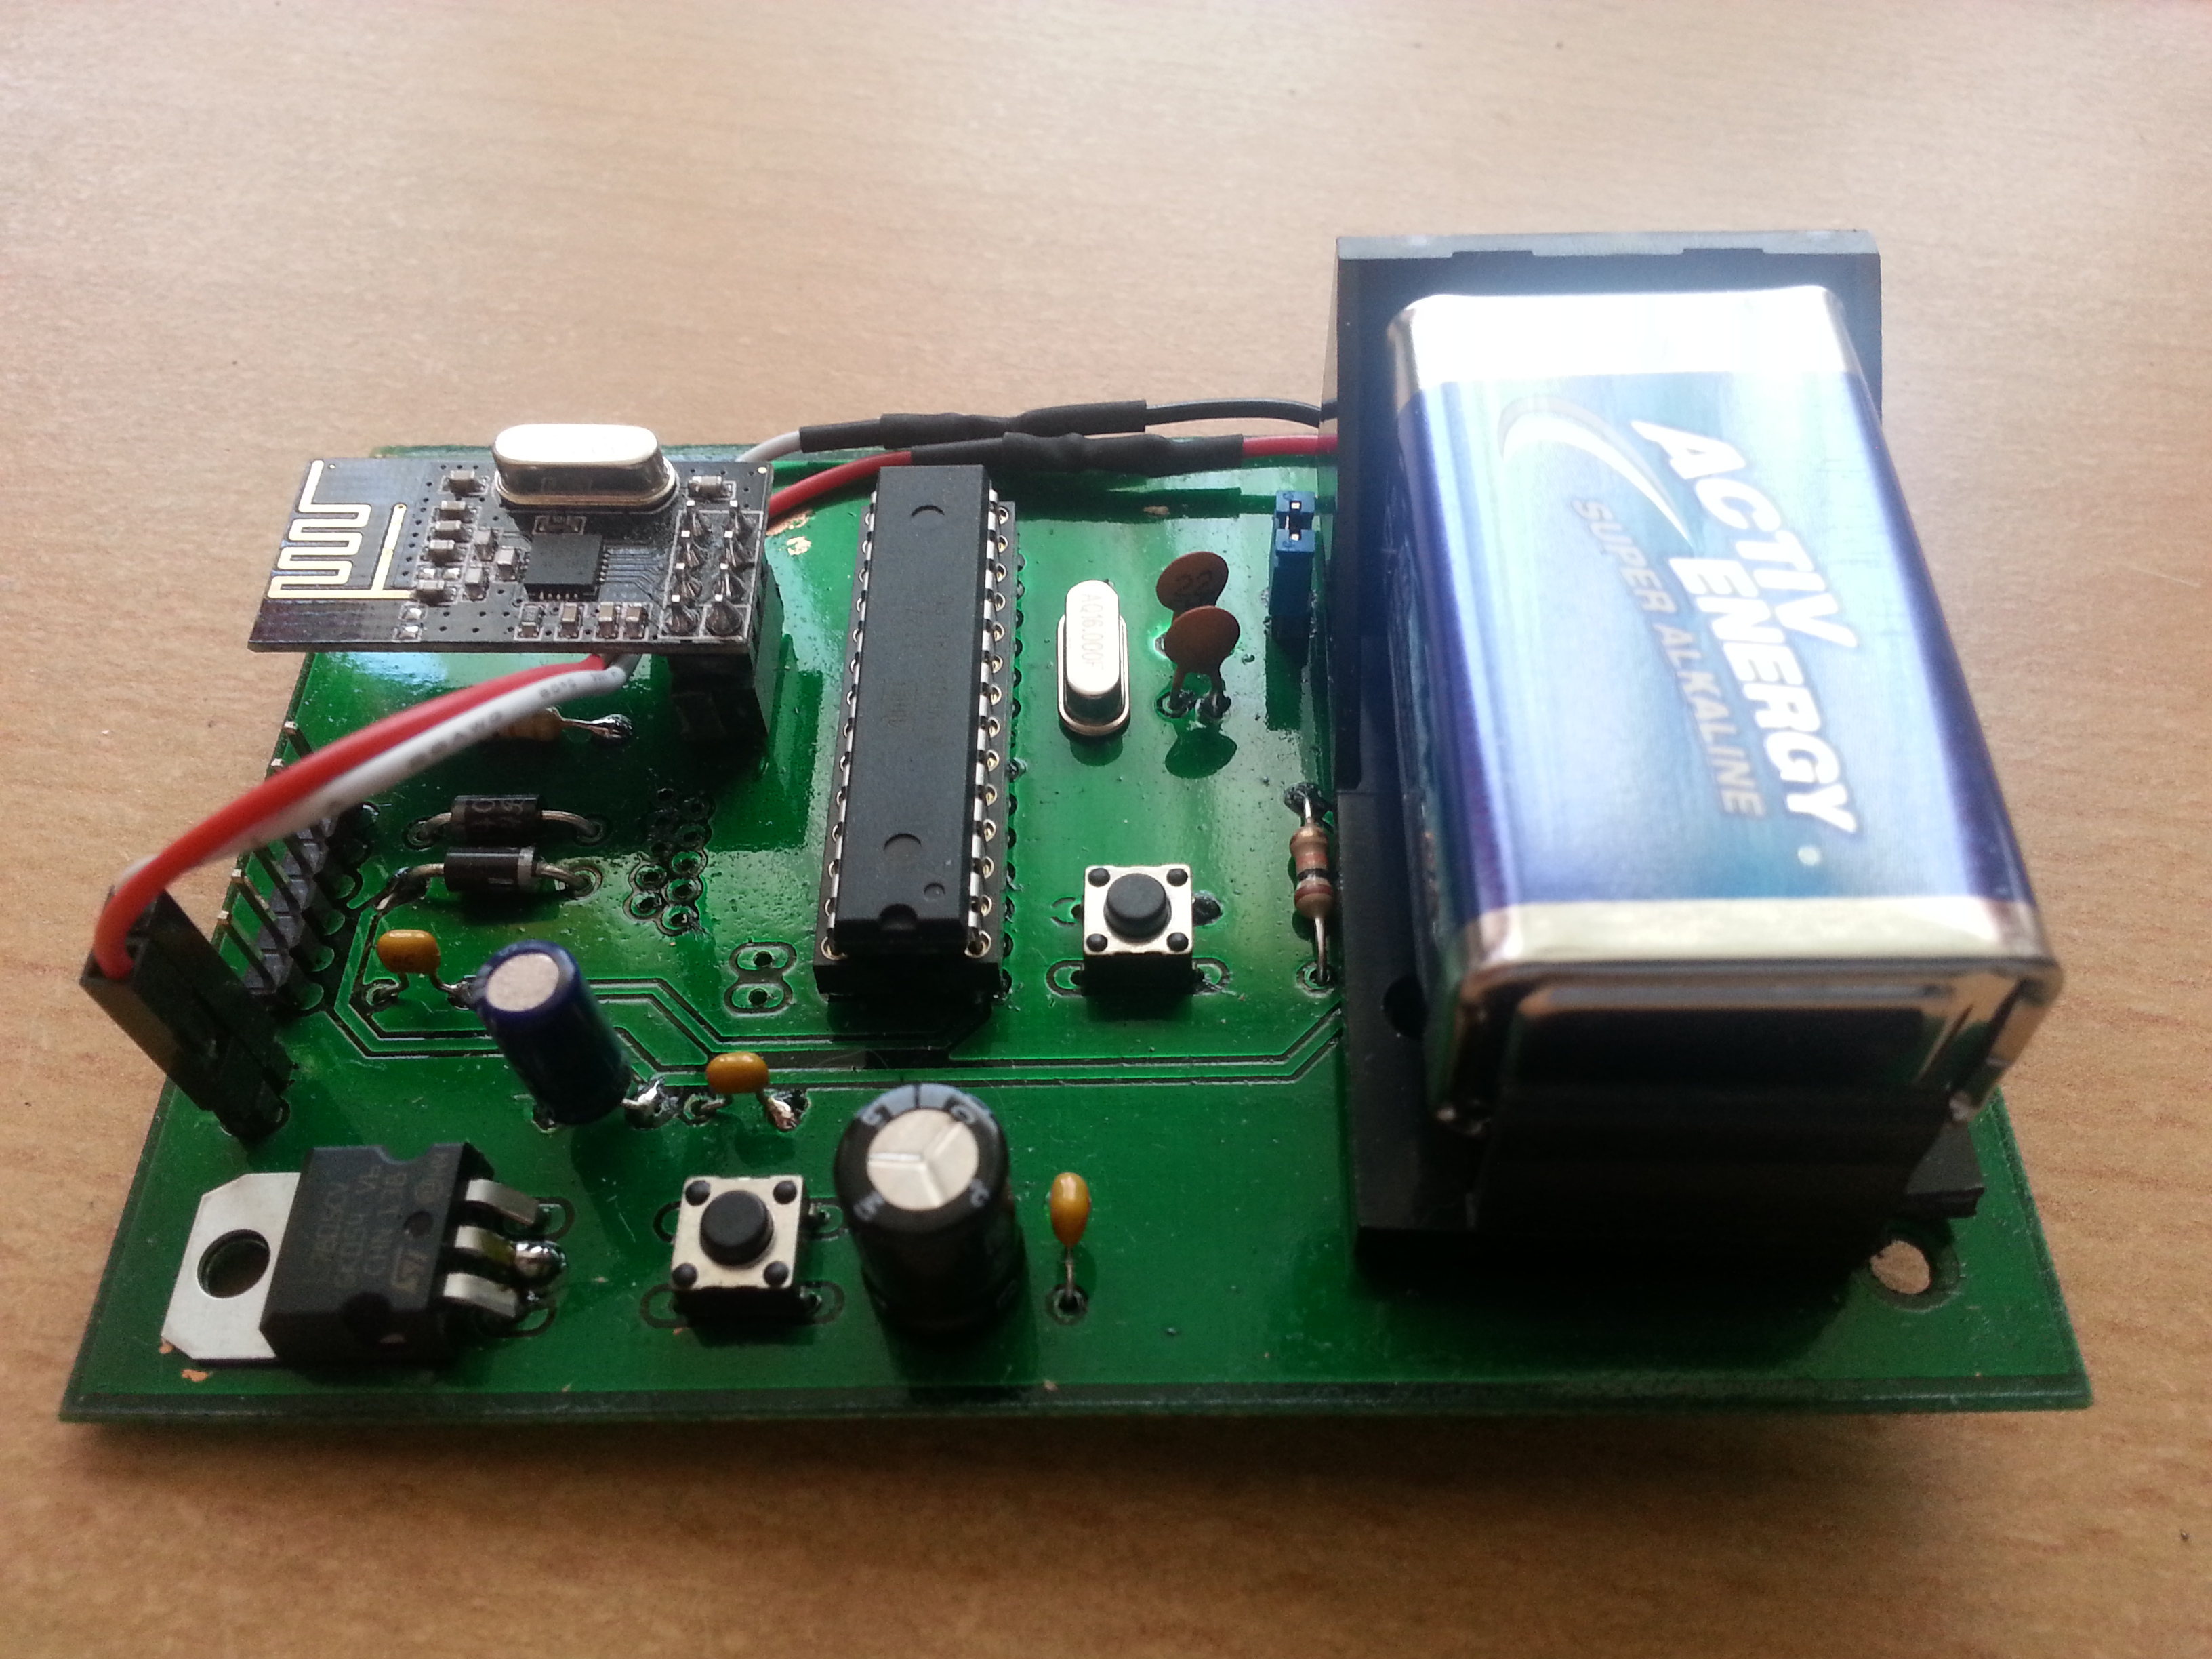
The result was a good homemade PCB. The other extra holes are for a 7805 voltage regulator and a power pushbutton. Since the nrf modules are pretty solid and connect to each other immediately, you can just disconnect the transmitter from its power supply and the light remembers the color you showed it.
The device remains controllable via bluetooth UART (for example via Android applications).
After testing I found out that the headers were too high for the sensor to properly detect surfaces and so I had to solder the TCS3200 PCB to the main PCB in a weird fashion in order to allow closer sample positioning to the sensor. Below the final version is shown with a 9V battery attached directly to the PCB.
Arduino code for the transmitter and receiver:
ChameleonRGBlamp
Eagle files for the transmitter (include schematics):
ChameleonTX
dammit, called it chameleon again.
Android App code for Android SDK based on basic bluetooth socket code found online:
RGBlampRemote
