3D printing can greatly fuel the creativity and capabilities of a passionate maker. I thought that quite some time ago when I encountered the RepRap project. I was building my CNC machine back then and wondered whether it was possible to add 3D printing capability to it. Some people have tried building 3D printers using threaded rods/trapezoidal rods and claimed that it leads nowhere, since the motion is too slow. The approach was called RepStrap. I dropped the idea immediately and decided to wait some time until the RepRap project becomes mature enough to build a safe and reliable machine, since I knew how exhausting the world of CNC can be from my own laser engraver/mill project.
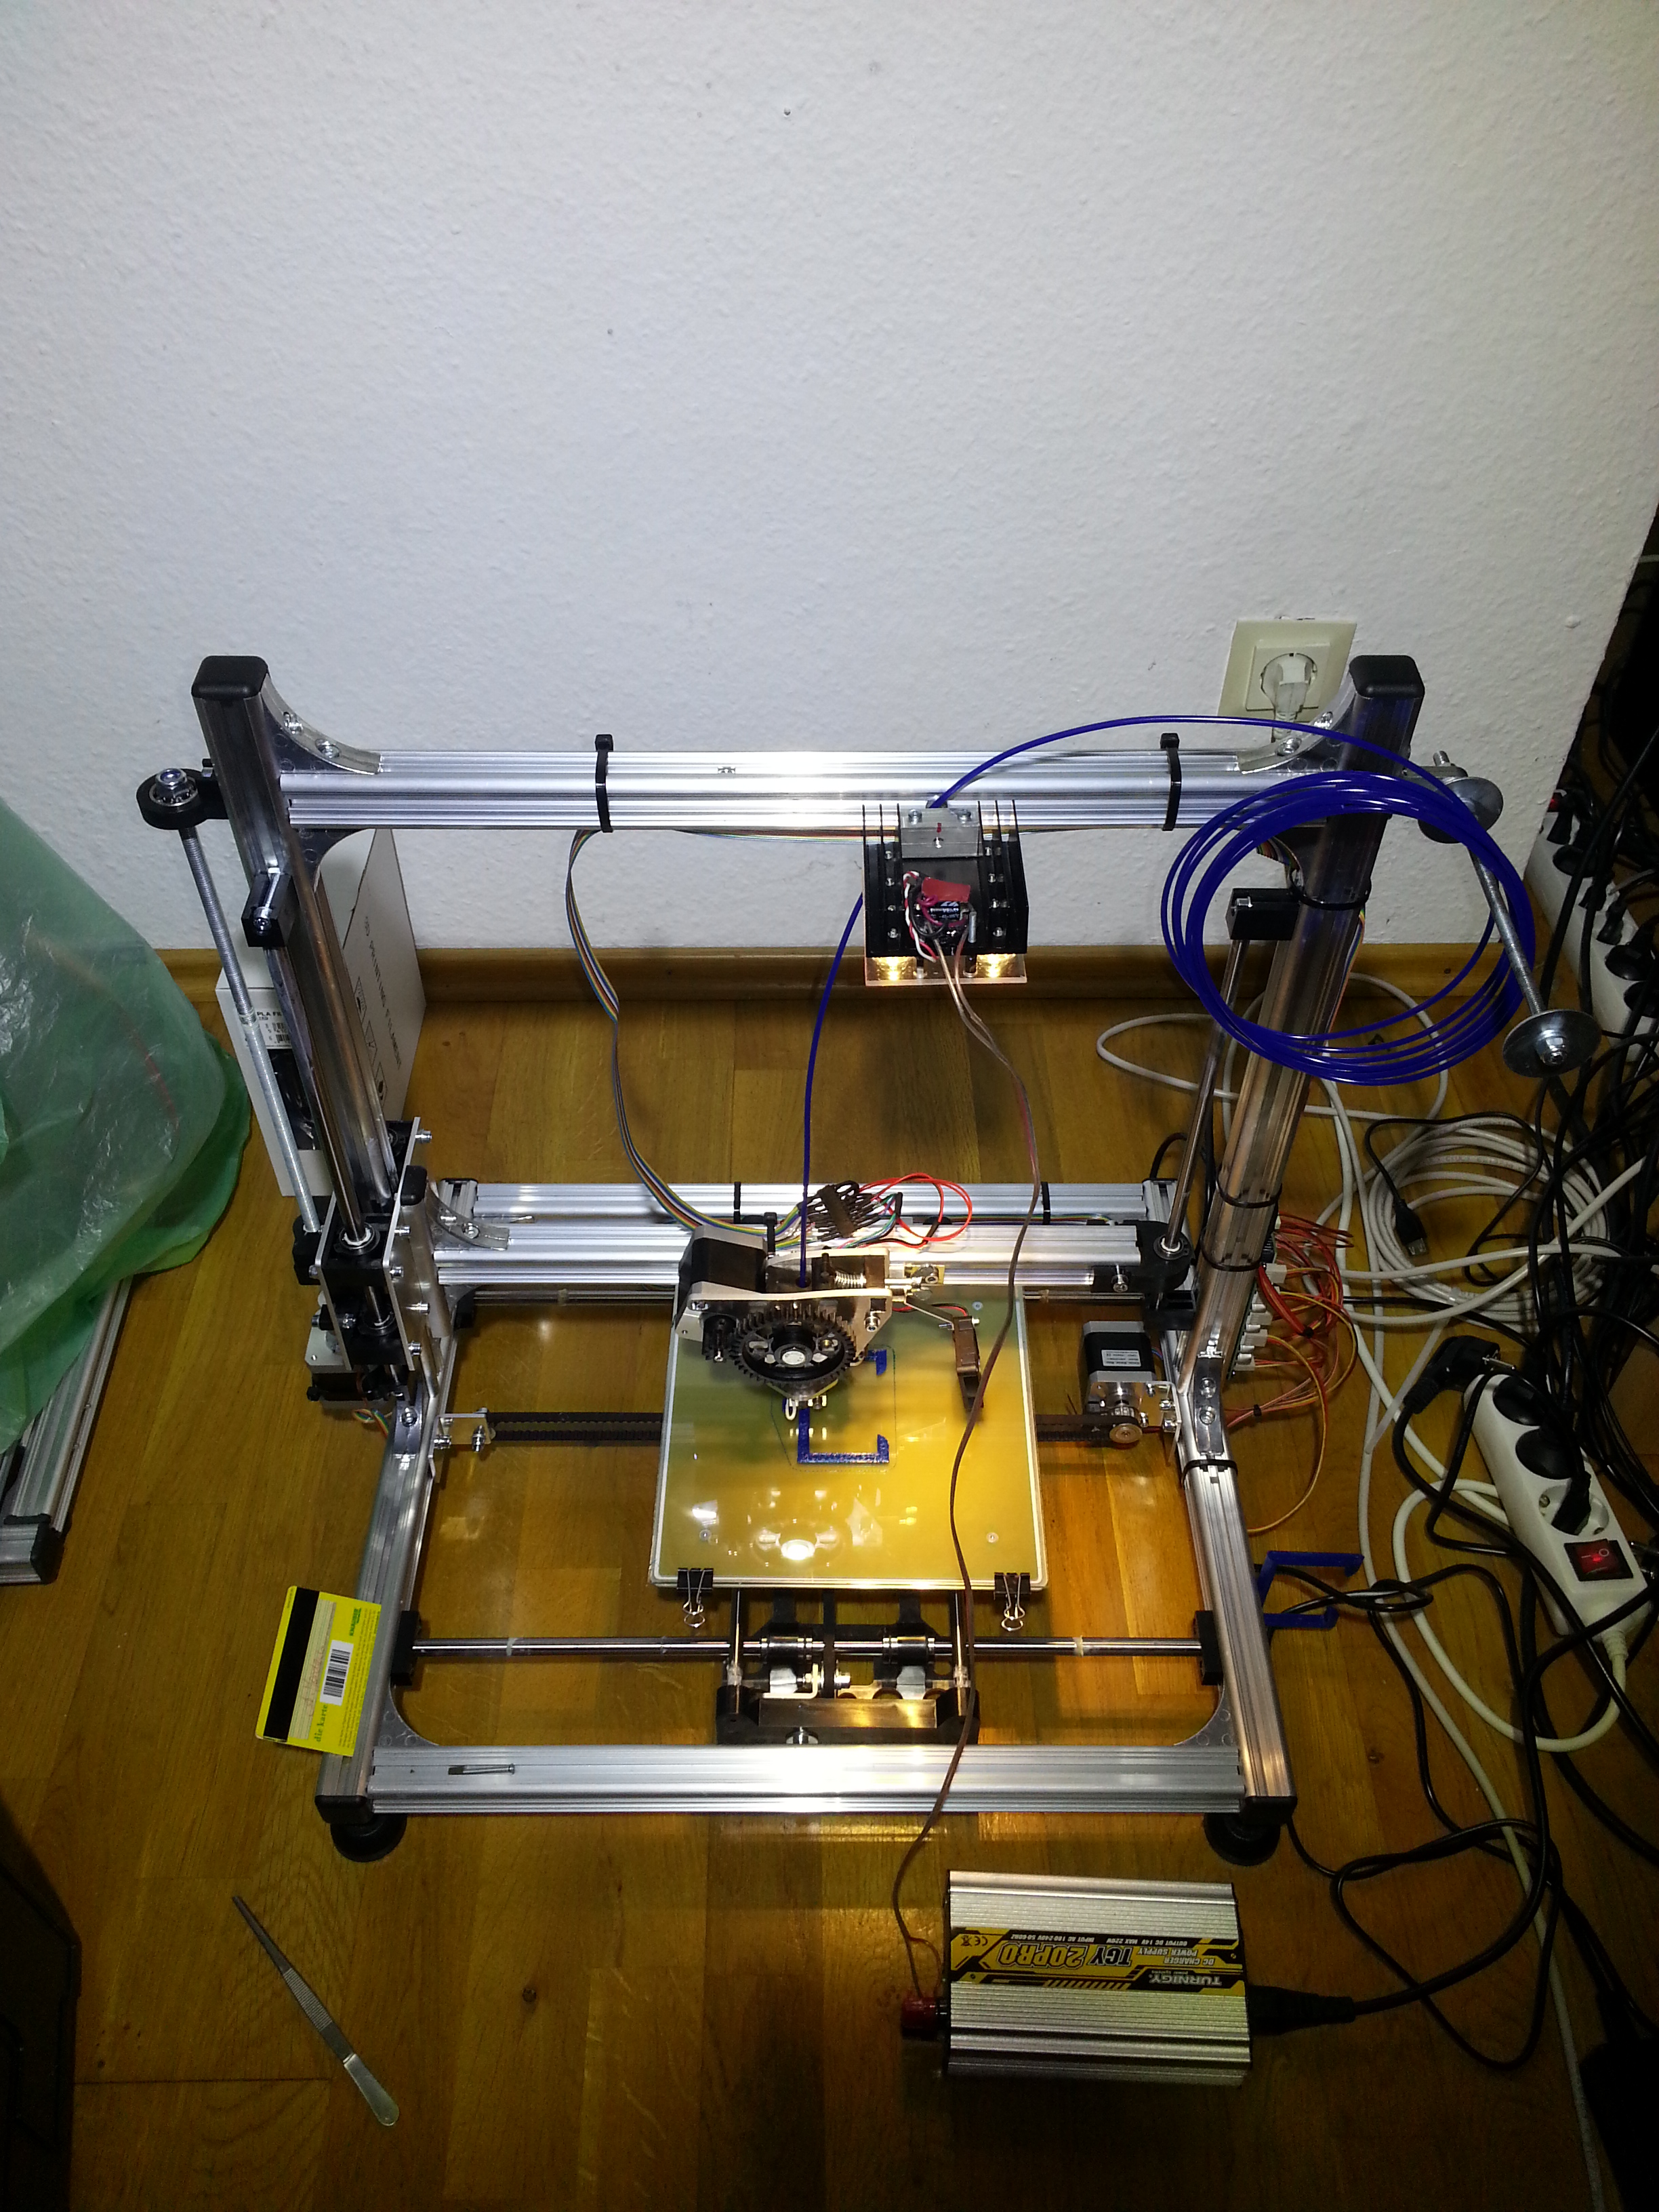
When the Velleman k8200 kit appeared on the market, I fell in love with it. The frame was composed of the same aluminum profiles as I’ve been using in my CNC and so I could guess that the kit had some potential. When the price finally dropped to almost the price of the bare parts, I decided to finally go for it.
The assembly of the kit was extremely interesting. The assembly manual is very detailed and guides you through even the finest details. It took me one day of full-time work for the mechanics and one day full-time for the electrical connections. Being quite experienced with soldering I would nontheless say that it was quite challenging. The insulation of the ribbon cable is not easy to remove. You better use simple schissors to accomplish that and be sure to thoroughly tin the wires, since the chance of producing a loose connection is pretty high given that there are that many solder joints.
I added some modifications right away, because I already knew about some weaknesses of the kit:
1. Installing this flex shaft coupler
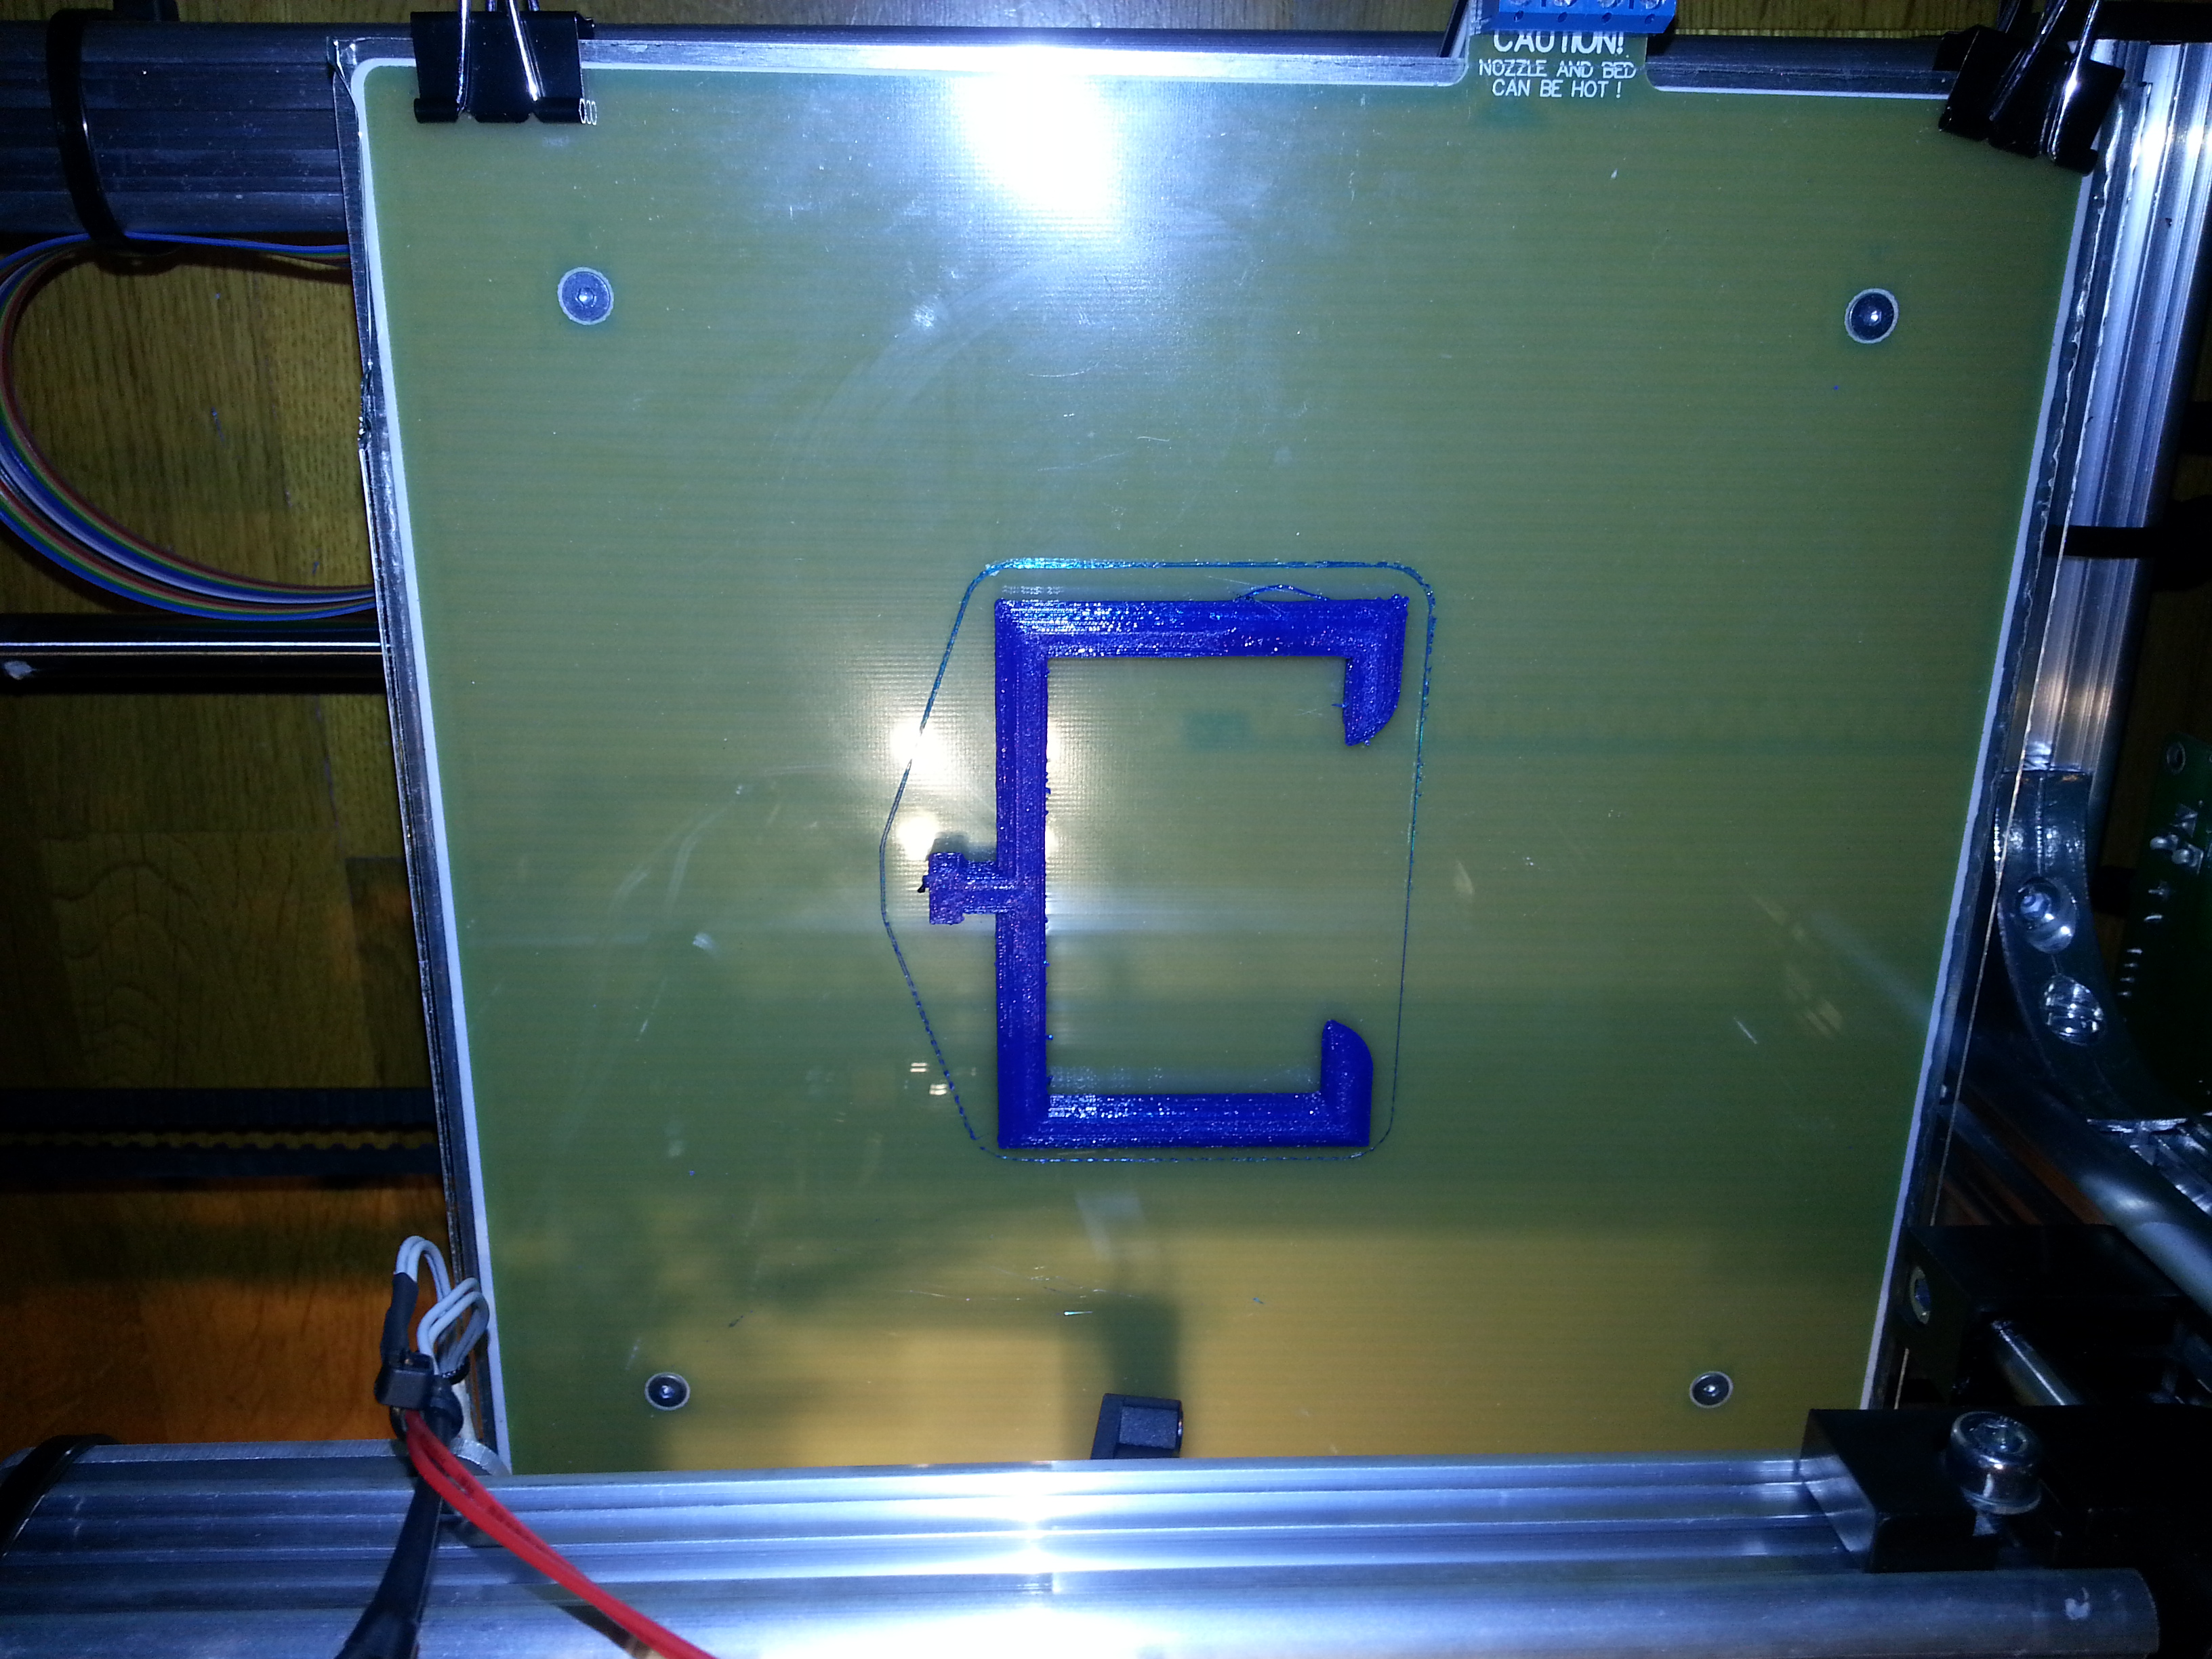
2. Installing a 21,5cm x 21,5cm glass plate on the heat bed with 4 clipboard clips. The heatbed is a thin PCB that is supposedely impossible to get even. In the middle it is higher than at the edges, so I haven’t even tried printing directly on the PCB and pressed the ~2mm thick glass on top.
3. Covering the glass plate with Kapton Tape (polyimide tape). This tape is heat-resistant and due to the stronger Van Der Waal’s forces the workpiece sticks perfectly to the printing bed, stil being easily removable. When printing on plain glass small prints might work ok, but with large prints the edges tend to bend up and the whole workpiece sometimes comes off and is ruined.
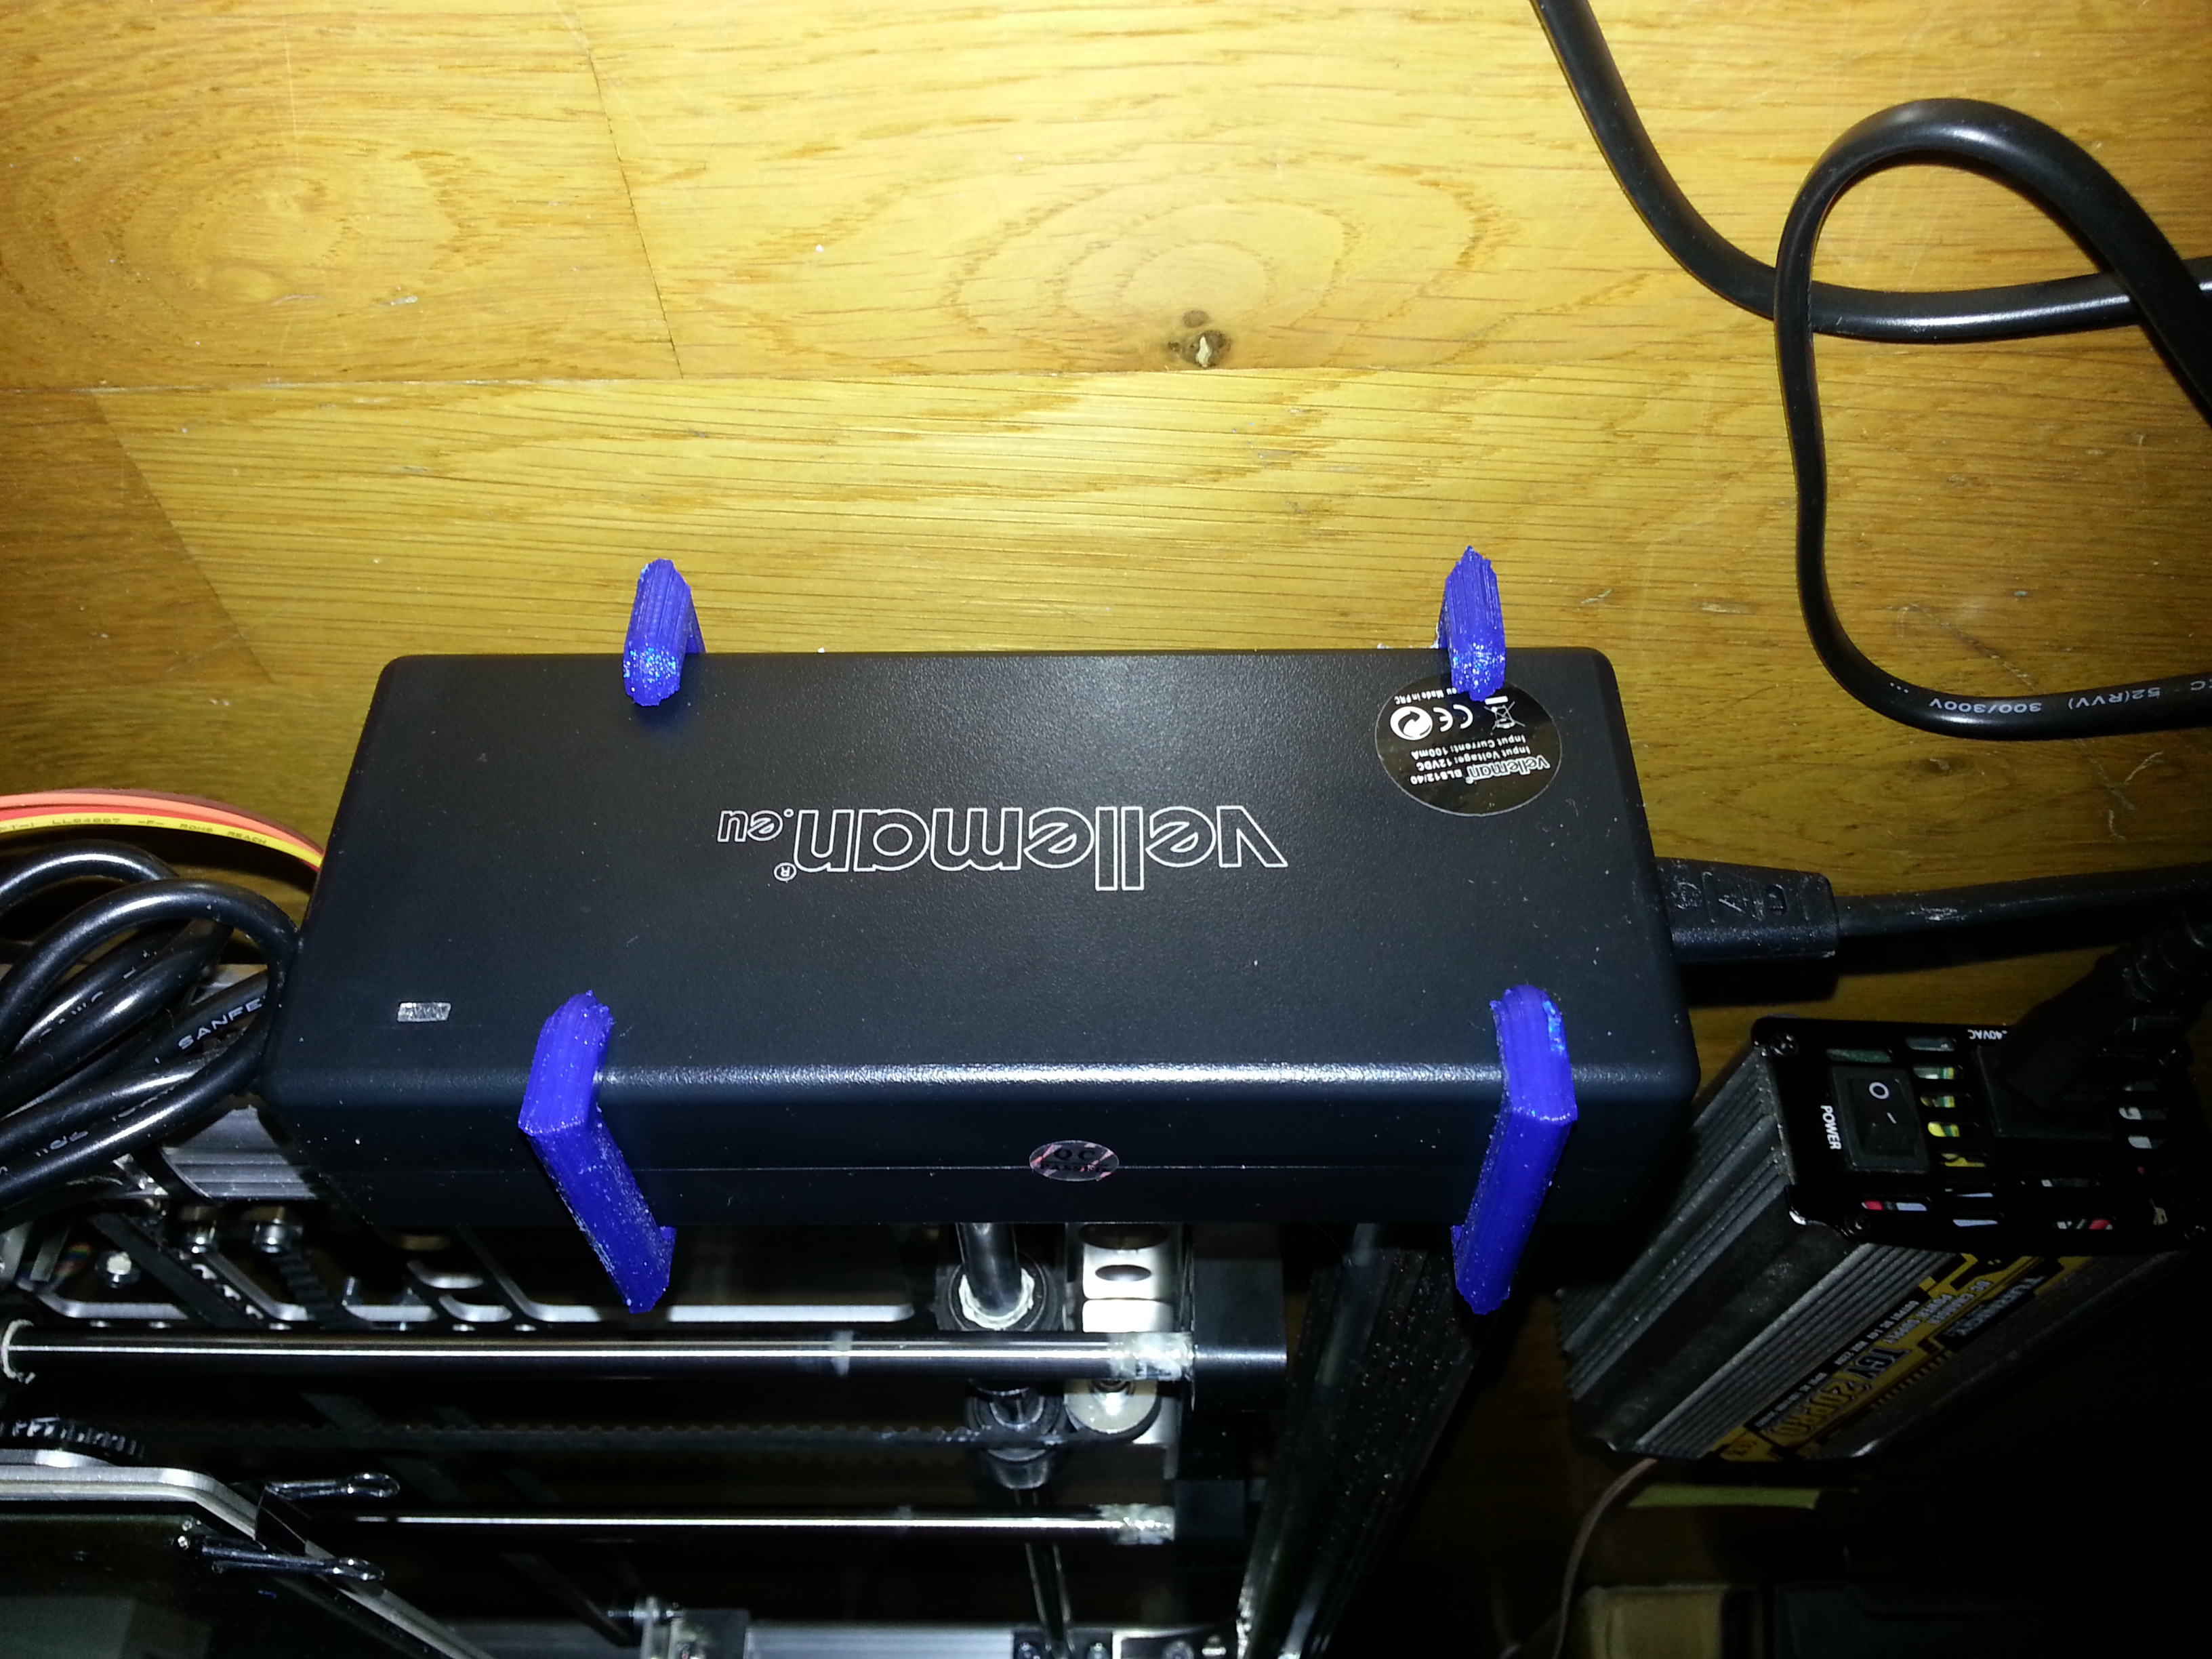
4. Terminal blocks to connect the heatbed and thermistor.
5. Added an M8 washer to the Z axis nut since it had some play in its plastic mount that was eliminated that way.
6. The extruder connections are made using standard 2,54mm male/female pin headers so that they can be disconnected easily without the need to remove the heatshrink tubing and cutting wires in case you want to change something.
7. Put 4x Luxeon Rebel Star LEDs on the top profile. The light acts as a filament guide as well 🙂
After downloading Repetier Host 0.95 from the Velleman homepage and calibrating the axes as described in the construction manual, the first print was attempted. I cleaned the glass surface with ethanol and printed two of these with satisfying results right away.
It’s a good idea to print something small in the beginning and not the huge enclosure as Velleman suggests. When your PLA doesn’t want to stick to the printing bed you might have to adjust the Z axis again (further minimize the gap). When the distance is right, the PLA should stick to clean glass. Even with the new PLA profile as offered on the download page. I made no modifications to parameters whatsoever. With Kapton Tape on the printing bed things work perfectly.
My conclusion is a very positive one. The k8200 kit is very well-documented and assembles easily. The printer is also customizable, since the aluminum profiles can be bought in some hardware stores. Some soldering skills are requred though! If you feel confident about that and invest about 10€ in some minor modifications as described above you get a reliable machine for currently the lowest price on the market.


Any ideas what could be happening when the heatbed isnt working?